
5 Creative DIYs with Spare Tiles: Tile Manufacturers in India
When purchasing tiles for a home renovation project, most tile manufacturers in the UK recommend ordering a couple of extra tiles. This way, even if your break or lose a few during installation, you have backup tiles in hand to complete the project flawlessly. As a result, sometimes homeowners find themselves saddled with surplus wall and floor tiles after a home renovation project. Don’t throw these beauties away! Repurpose them to create beautiful decor.
Here are some of the best DIY craft projects that you can do with leftover tiles. Let your creative juices flowing and get started creating artistic home decor.
1. Fridge Magnets

Project Difficulty Level: Beginner
This is a quick and easy project, that you can complete within 20 minutes. It makes for a great gifting item or stocking stuffer. If you have plain glossy tiles leftover from the renovation project, you can turn them into dry-erase fridge magnets.
Supplies needed:
- Left over solid colour tiles
- Magnets
- Glue
- Dry erase markers
Glue one magnet to each corner of the tile using a hot glue gun. Voila – you have a dry erase board. Stick this tile magnet to the door of your fridge and note down grocery lists on the tile using a dry-erase marker. It also makes for a great canvas for little hands to draw on and create changing artworks for the fridge.
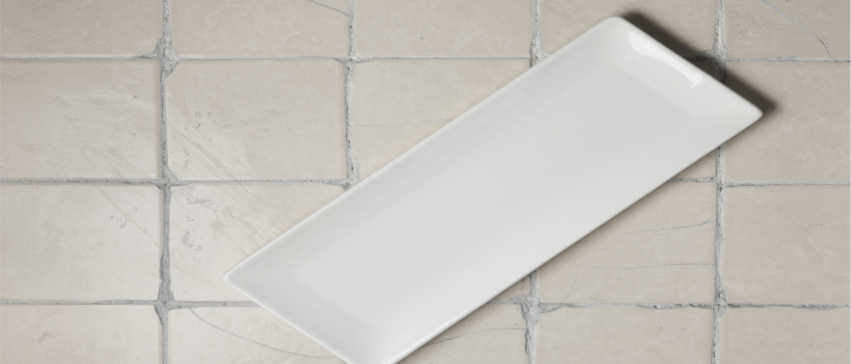
2. Tiled Serving Tray
Project Difficulty Level: Intermediate
Do you have a boring plastic tray lying unused in your kitchen? It’s time to give it a glam makeover. Here are the step-by-step instructions for this DIY project.
i: Prepare the Tray
Spray paint the wooden tray in a neutral colour like white or beige. Then coat it with primer and let it dry.
ii: Use your Leftover Tiles to Create a Beautiful Pattern
Arrange the leftover tiles on the tray to create a beautiful pattern. You can play around with the arrangements and colours to create interesting effects.
iii: Glue the Tiles
Once you are satisfied with the arrangement, glue the tiles on the tray using a strong adhesive. Once the tiles are glued, place a heavy weight on top like a dictionary to allow the tiles to set and dry.
You can stop the project here or add a little something more to your tray.
iv: Apply grout in between the Tiles
If you have leftover grout from your home renovation project, you can use it to fill the gaps between each tile on the tray. Wear gloves and smooth the grout, to ensure there are no bumps.
v: Clean Grout
Next, use a wet rag to clean the extra grout. If you accidently remove grout from a space where it is needed, no worries. You can refill it and repeat the process.
That’s all. Your tiled tray is ready to impress your guests.
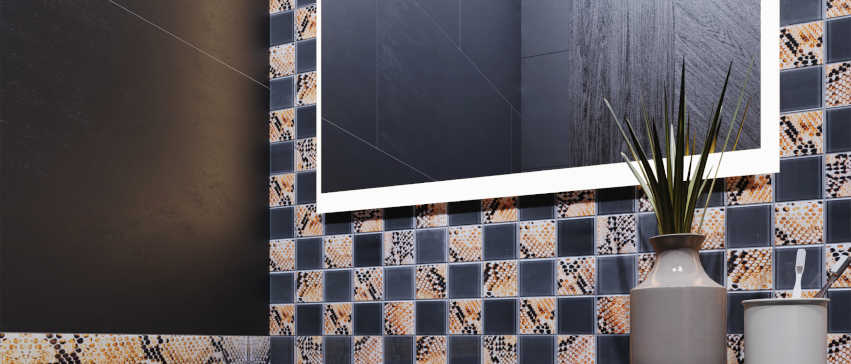
3. Mosaic Tiled Mirror
Project Difficulty Level: Beginner
Revamp your dressing mirror into a statement piece by attaching tiles on all sides. This is an easy project. All you have to do is glue tiles along the edges of the mirror to create a one-of-a-kind decor item. When choosing tiles for the sides, go with monochromatic tiles or you can mix and match tiles of different colours to create an eclectic look.
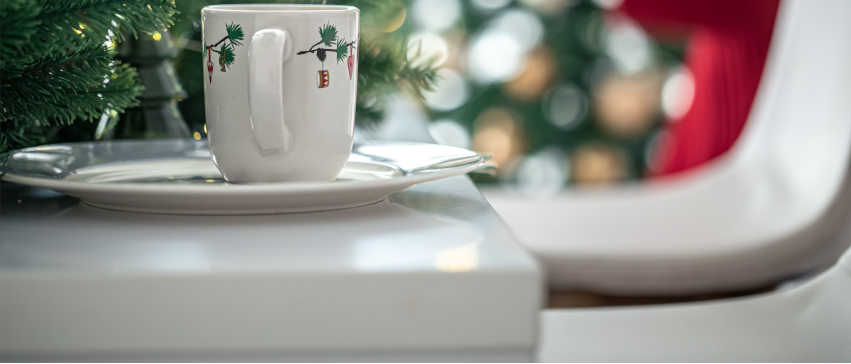
4. Give Your Coffee Table a Facelift
Project Difficulty Level: Expert
Do you have an old coffee table that could do with a facelift? You can stick leftover tiles on the top of the coffee table to create a statement piece. With that said, this project is a bit laborious and time-consuming as you have to first cut the tiles to fit the exact shape of the tabletop. If you are an expert DIY-er you can carry out this with ease.
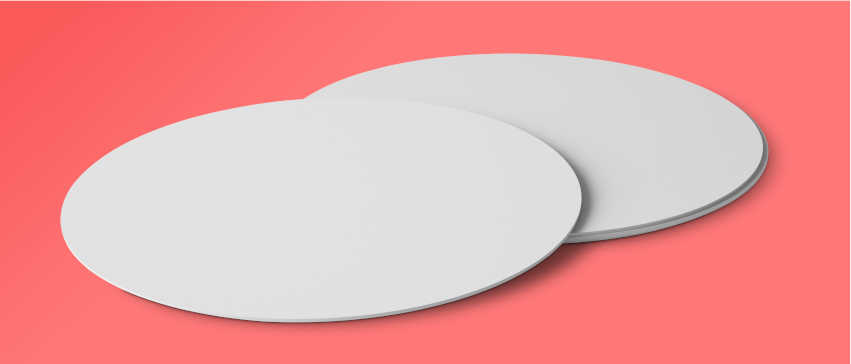
5. Tile Coasters
Project Difficulty Level: Beginner
This one’s an easy and fun craft project for all ages. You can use any type and number of tiles you have in hand. Just make sure that the tile you are using is of standard coaster size – 3.75” x 4.25”. Take a tile in your preferred colour and wipe it clean. Then cut felt sheets in the same size as the tile and stick it to the back of the tile. Using felt sheets protects the tile from scratching your table or bedside table. That’s it, your beautiful handmade tile coasters are ready for use.
Create a set of four coasters and tie it with a ribbon. Makes for a great Christmas gift for colleagues and friends.
Which of these DIY leftover tile projects are you excited to try out? Let us know in the comments below. And if you complete a project do share the pictures with us.


